Reactivating Your Sprinkler System
The steps below are for reactivating your system, but be looking for needed repairs or adjustments as well (information on repairs is available here). To avoid potential safety risks or equipment damage, it may be advisable to contact a knowledgeable licensed professional to assist in the repair or replacement of components necessary to put the sprinkler system back in good working order. Many irrigation contractors offer sprinkler start-up services in the spring.
Tasks necessary when reactivating a sprinkler system after being turned off for the winter are dependent on how the system was winterized or shut down, but in general, you can use the following steps.
|
|
With an electric automatic system, start with the controller: |
- Is the power turned on? Is the display functioning properly, with the correct time of day, day of the week, etc. showing?
- Check to see if there is an appropriate program in place, including station run times, program start times, and days to water. This will probably need to be changed to match the current weather conditions.
- If your controller has a replaceable battery backup, make sure it is a fresh battery, and the correct type of battery; alkaline or rechargeable. Alkaline batteries should be replaced every year, while rechargeable last longer. Do not substitute battery types. Warning: An incorrect battery can harm the controller.
- Check the valve wires coming into the controller. Make sure the common wire and valve wires are securely connected.
|
|
Next, check the water supply: |
- First, you need to know where the sprinkler system shut off valve is located. If you dont have a shut off valve for the sprinkler system, it is advisable to have one installed. Not only will it enable you to adequately turn off the water supply to your sprinkler system when winterizing, but also without a shutoff to isolate the sprinkler system, you will have to turn the water off to your home or business if you need to make some sprinkler system repairs. When adding a shutoff valve, its best to place it as close as possible to the point of connection (POC) where the main sprinkler line branches off from the pipeline that supplies water to the building.
- Additionally, determine where the backflow prevention assembly(s) is (are) located. Because contaminated water can be drawn from sprinkler pipes back into the household or public water system without such assemblies in place, they are required by health and plumbing codes. If you are not sure your system is properly equipped with backflow prevention, call 541-774-2450 for more information. Some types of backflow prevention assemblies have valves that are incorrectly used to shut off the sprinkler water supply for winterization. Since these valves should be left partially open to avoid freeze damage, a dedicated shutoff valve, as described above, should be in place or added to avoid use of the backflow prevention assembly in this manner.
- You will also need to know where all drain valves and electric automatic control valves are located.
- Determine which valve is farthest from the sprinkler POC. This could be the last electric control valve in a valve box, a drain valve or even a hose bib attached to a sprinkler mainline. In some cases, the sprinkler system mainline may branch off, going in more than one direction. If so, you will want to identify the farthest valve on each branch line.

- Open the valve(s) that youve identified as being farthest from the POC so that when the water is turned on, air in the mainline piping will be able to escape. If this is an electric control valve, youll want to use manual operation of the valve to open it.
- Next, at the main sprinkler shut off valve, PARTIALLY open the shut off valve. It is important to let water into the system SLOWLY and allow air to escape. You want to avoid filling the pipes to quickly, possibly producing water surging, or water hammer, which can damage sprinkler components.
- As water and air come out of the sprinkler zone valve(s) or hose bib(s) that have been opened, open the main valve slightly more, but not all the way. Then slowly close down those farthest valve(s).
- Look for any other open valves that need to be closed, especially drain valves and the test cocks on the backflow assembly that may be open. Once all valves are confirmed closed and no problems are visible, fully open the main sprinkler shut off valve.
|
|
Now check the electric control valves, lateral line piping and sprinklers by using the controller to turn on and run each individual zone: |
- If there is a rain sensor or soil moisture sensor connected to the controller, be sure it is not activated while doing this test. This can be as simple as flipping a switch, if your controller has that function, otherwise it may be more complicated. Check your owners manual for the proper bypass procedure for the sensor.
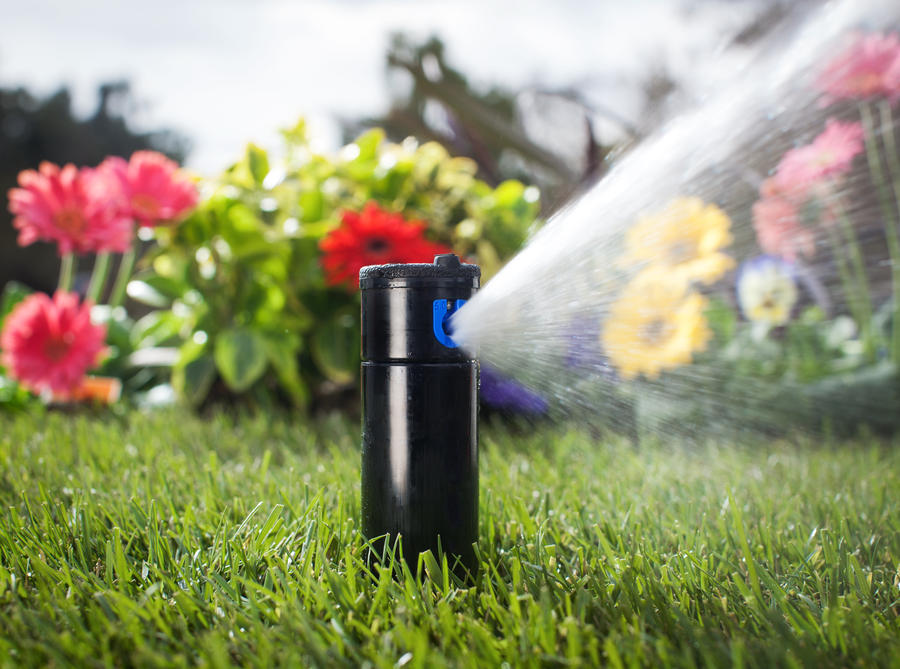
- Operate each zone long enough to make sure the valves and sprinklers, or drippers, are functioning properly.
- While you may be able to make some adjustments and simple repairs, some problems are best attended to by someone with the knowledge, training and materials to address them.
- After you have gone through each zone on the controller, be sure to re-activate your rain or soil moisture sensor if you have disabled it.
Starting up a manual system follows many of the steps above, except there are no electric controller or control valves to operate. The key to accomplishing the procedure safely is allowing the mainline piping to fill with water SLOWLY, while coming to full pressure. Remember to use the last valve(s) as an evacuation point for air and water to escape as the main shut off valve is opened.
|